By Chef Andrea Yoder
Welcome to the 2018 CSA Season! Whether this is your first year “eating out
of the box” or you are a seasoned veteran with years of experience, we hope you
enjoy this journey of seasonal eating adventures. Learning to eat “out of the box” is a
transition for your mind as well as your palate. Many of our longtime members tell us it takes
a good three years to make the solid transition to change the way you approach
mealtime as you build your meals and menus around the seasonal produce in your
CSA box. Seasonal eating is not some
new concept recently developed, it’s how our ancestor previously ate out of
necessity! This way of eating makes us
more aware of the seasonal changes in our environment. We look to the fields, or to our storage
areas throughout the winter, to find the ingredients we’ll build our meals
upon. In doing so, we can enjoy a wide variety of vegetables that are at their
peak of freshness in their season and nourish our bodies in just the right way
during that time of the year.
Early spring can be a challenging time of the year to eat
local, seasonal food. Our ancestors
didn’t have the luxury of going to the grocery store to purchase produce
shipped in from other parts of the country during the winter. They had to store food from their fall
harvests to sustain them until the next growing season. In the spring time, when their stores of
winter root vegetables had dwindled, I’m sure they looked forward to the return
of fresh, spring food. While the start
of every spring can be difficult, this year in particular has been very
challenging! This year spring came very
late and we set a new record for the latest day to start working in the
fields! We started on April 25, a full
week later than our previous record-setting date. Thankfully we’ve been able to get a lot of
crops planted and have really made some good progress, but it will be at least
another 4 weeks or so before we can harvest anything from these plantings. Chef Joshua McFadden, in his book entitled Six
Seasons, calls this time of year the “hunger gap.” “The ‘hunger gap’ is the period between the
end of winter and beginning of spring vegetables. You’re either sick of winter vegetables or
you’ve consumed them all, and you can’t wait for the first radishes and lettuces
of spring to appear.” Thankfully, we
have some other options and tactics we can employ to help us bridge this
gap. While we’re waiting for the spring
planted crops to mature, we continue to rely on storage vegetables such as
black Spanish radishes, as well as overwintered root crops including sunchokes
and parsnips. We also look to our wild
areas where we can forage edible plants such as ramps. Lastly, we rely on perennial vegetables and
fall-planted crops to bridge this gap.
These are crops that are planted in the field and can survive a
Midwestern winter. They start growing in
the spring long before any other spring planted vegetable will be ready. These crops include chives, potato onions,
Egyptian walking onions, green garlic, asparagus, sorrel and nettles. So while it might seem like slim-pickings
this time of year, we still have plenty to sustain and nourish us!
We realize many members may not be familiar with the
vegetable selections in this week’s box, but we want to reassure you that we
are here to help you! We usually feature
one vegetable each week in our newsletter and on our blog. Since this week’s box contains some unique
selections, we couldn’t decide on just one vegetable to feature! So, we’re going to walk you through this
week’s box and share a little more information about each one. We’ve featured nearly all of these vegetables
in previous newsletters, so if you’re interested in reading more about a
particular selection, please refer to the newsletter archive section on our
website where you’ll be able to view these articles. I’ve provided links for you throughout the
remainder of the article.
 Lets tackle these mysterious looking Black Spanish Radishes first.
These are the vegetable that have the black skin and resemble a
turnip. Yes, the skin is supposed to be
black! This is a storage radish with a
tremendous ability to store for months.
We harvested these late last fall and have kept them in cold
storage. There are very few vegetables
we grow that have a storage capability as long as Black Spanish Radishes. They are just as good now as they were five
or six months ago! This is a pungent
radish with a bit of a horseradish flavor.
The flesh is dense, crisp and white.
They may be eaten raw or cooked.
If you are a radish-lover, you’ll likely appreciate their strong
bite. If you aren’t as keen on the
flavor of a strong radish, you’ll want to consider cooking them or peeling them
to lessen the pungency. Cooking mellows
the radish flavor significantly and you’ll actually taste more of their
sweetness. You can roast, steam or saute
black Spanish radishes, but they are also good added to soups, stews and other
cooked preparations. If you are eating
them raw, slice them thinly and eat them with a bit of salt or layer them on a
piece of good bread with some butter for a radish sandwich. You can also shred or dice the radish and mix
them into sour cream to make a nice condiment for beef, lentils, pork, etc.
Lets tackle these mysterious looking Black Spanish Radishes first.
These are the vegetable that have the black skin and resemble a
turnip. Yes, the skin is supposed to be
black! This is a storage radish with a
tremendous ability to store for months.
We harvested these late last fall and have kept them in cold
storage. There are very few vegetables
we grow that have a storage capability as long as Black Spanish Radishes. They are just as good now as they were five
or six months ago! This is a pungent
radish with a bit of a horseradish flavor.
The flesh is dense, crisp and white.
They may be eaten raw or cooked.
If you are a radish-lover, you’ll likely appreciate their strong
bite. If you aren’t as keen on the
flavor of a strong radish, you’ll want to consider cooking them or peeling them
to lessen the pungency. Cooking mellows
the radish flavor significantly and you’ll actually taste more of their
sweetness. You can roast, steam or saute
black Spanish radishes, but they are also good added to soups, stews and other
cooked preparations. If you are eating
them raw, slice them thinly and eat them with a bit of salt or layer them on a
piece of good bread with some butter for a radish sandwich. You can also shred or dice the radish and mix
them into sour cream to make a nice condiment for beef, lentils, pork, etc. 
Sunchokes are
another unique vegetable in this week’s spring lineup. These are the knobby root vegetables that
kind of resemble ginger or a potato. We
left some of last year’s crop in the field to “overwinter” and harvested them
this spring. It was a hard winter for
overwintered vegetables and we are seeing some surface skin discoloration on
this year’s crop. It is only on the
surface, so simply peel off the skin and you’ll find a dense, white, crisp
flesh inside. They have a mild, nutty flavor and may be eaten raw or cooked. When cooked, sunchokes can be prepared in any
way you might prepare a potato. They are
excellent when roasted, but also make a nice smooth cream soup. They are also good in stir-fry and resemble a
water-chestnut for this use. If you
prefer to eat them raw, you can use them in salads, or turn them into a
salsa-type condiment. This next bit of
information is important, so listen up.
Sunchokes contain a non-digestible fiber called inulin which is actually
a pre-biotic nutrient and very beneficial for our health. Prebiotics are an important food source for
the beneficial bacteria in our large intestine.
While the health benefits are great, some people do experience abdominal
discomfort and flatulence when they eat sunchokes. In some individuals, the response is
dose-dependent, so if you are eating sunchokes for the first time, do so in
small quantities until you see what your body’s response will be. I like to use sunchokes in small quantities
in preparations where they can be a complement to the food I’m serving instead
of the main attraction. I wrote a more extensive article about
sunchokes in our May 14, 2016 newsletter which you’ll find on our website. I also included a recipe in that newsletter
for a sunchoke salsa that is easy to make and can be used as a condiment to
enhance fish, chicken and beef dishes.
You can also serve it with tacos or eat it with your scrambled eggs and
toast in the morning.
 |
| Overwintered parsnips ready to come out of the ground! |
 Ramps are an
exciting spring delicacy that has become more recognized and popular over
time. We do not cultivate ramps. They grow on wooded hillsides in our valley
and we wild-harvest them. They are one
of the first beacons of spring that we see and have a very short season of
availability ranging from 3-5 weeks at most.
Ramps have a lily-like leaf with an onion-like bulb on the bottom. They have a distinct onion/garlic flavor that
is best described as “rampy.” You can
eat both the leaf and the bulb, you only need to trim away the root end. When eaten raw, ramps have a very pungent,
sharp flavor. Once they are cooked the
flavor mellows a bit. There are many
ways you can use ramps and I’ve found that most people who know ramps have
their list of favorite ramp recipes that they make every year. Ramps pair well with eggs, so one of the
easiest ways to enjoy them is in scrambled eggs. They are also excellent when used in pasta
dishes or risotto and they pair well in any preparation that includes cream,
mushrooms and other spring vegetables such as asparagus and spinach. The leaves are very delicate, so wrap your
bunch of ramps in a damp paper towel and store them in the refrigerator. If you’d like to read more about ramps,
including our methods for sustainable harvests, refer to the newsletter article we wrote last year on April 22, 2017.
Ramps are an
exciting spring delicacy that has become more recognized and popular over
time. We do not cultivate ramps. They grow on wooded hillsides in our valley
and we wild-harvest them. They are one
of the first beacons of spring that we see and have a very short season of
availability ranging from 3-5 weeks at most.
Ramps have a lily-like leaf with an onion-like bulb on the bottom. They have a distinct onion/garlic flavor that
is best described as “rampy.” You can
eat both the leaf and the bulb, you only need to trim away the root end. When eaten raw, ramps have a very pungent,
sharp flavor. Once they are cooked the
flavor mellows a bit. There are many
ways you can use ramps and I’ve found that most people who know ramps have
their list of favorite ramp recipes that they make every year. Ramps pair well with eggs, so one of the
easiest ways to enjoy them is in scrambled eggs. They are also excellent when used in pasta
dishes or risotto and they pair well in any preparation that includes cream,
mushrooms and other spring vegetables such as asparagus and spinach. The leaves are very delicate, so wrap your
bunch of ramps in a damp paper towel and store them in the refrigerator. If you’d like to read more about ramps,
including our methods for sustainable harvests, refer to the newsletter article we wrote last year on April 22, 2017.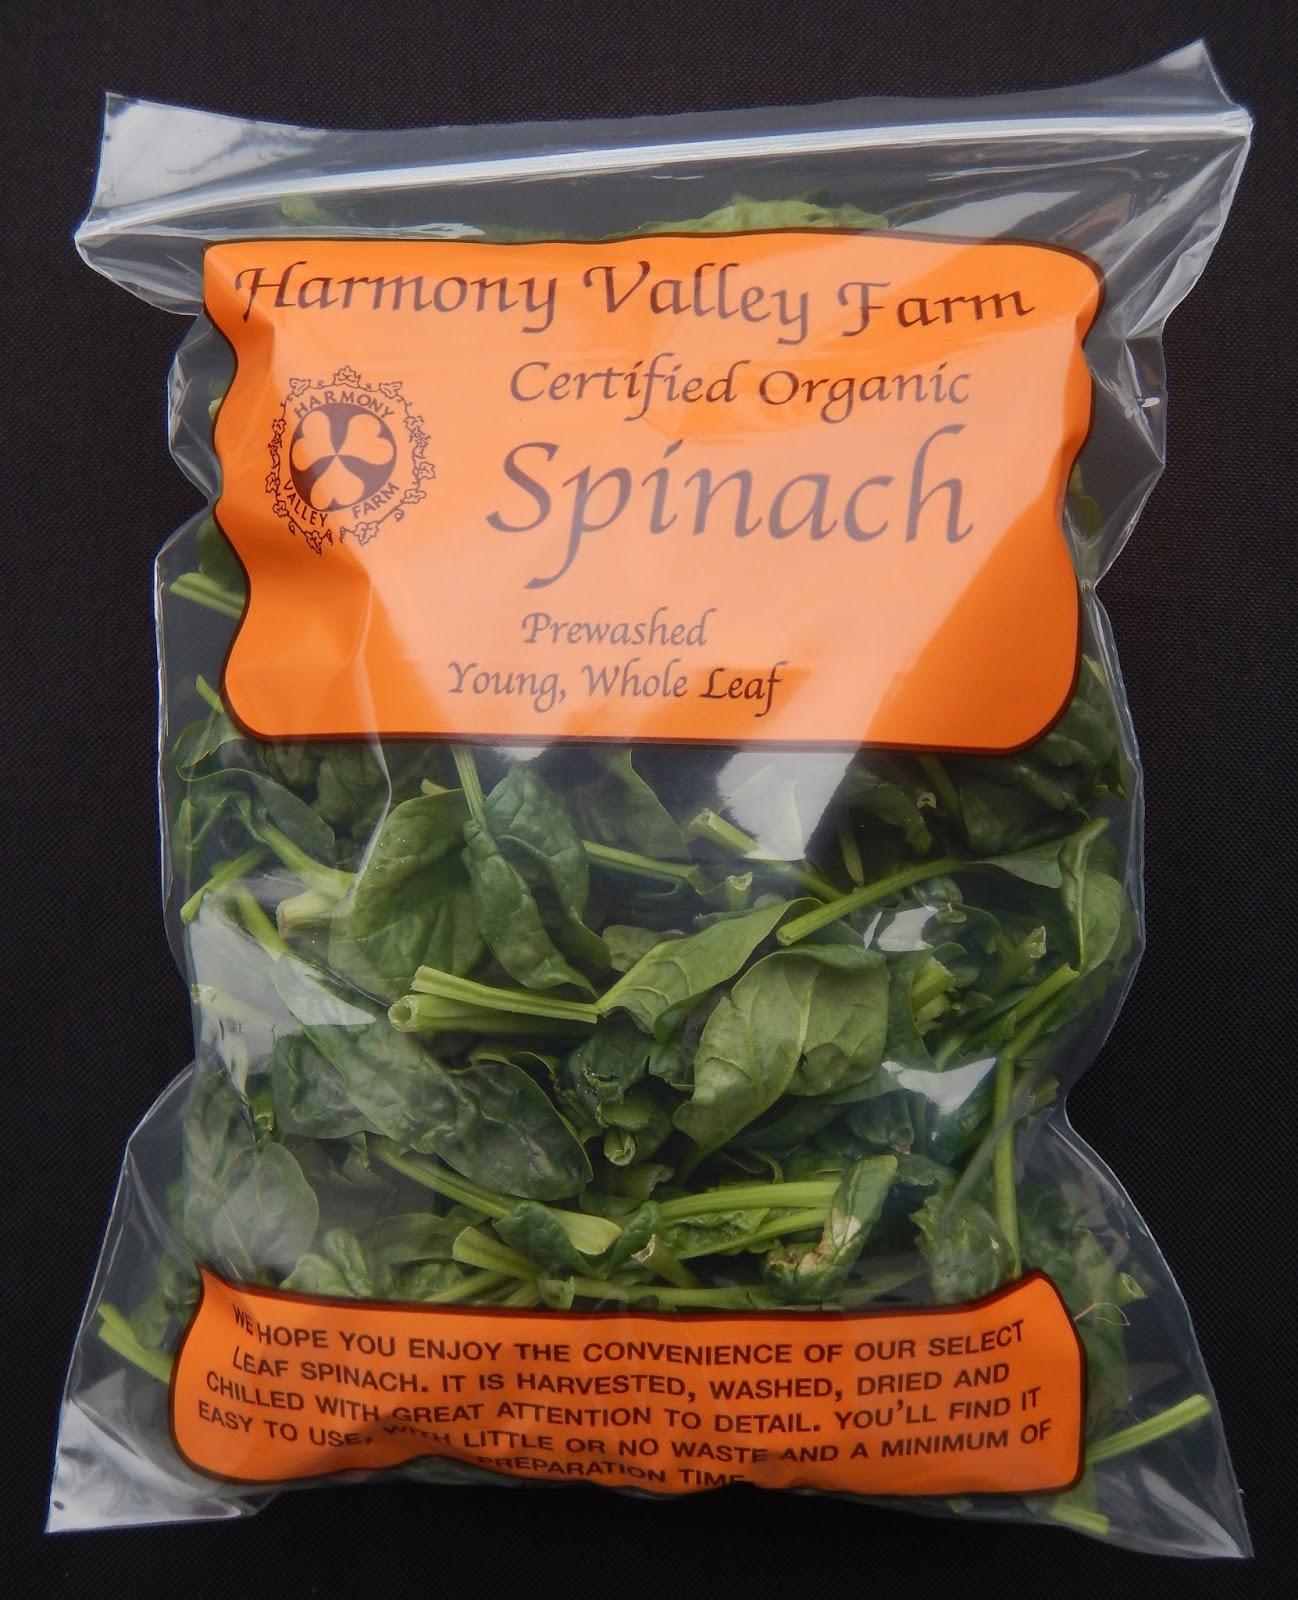

I hope you find this information helpful as you cook through
and explore the contents of this week’s box.
For more recipe ideas and culinary suggestions, visit the “Cooking With
This Week’s Box” article on our blog.
I’ll include recipe suggestions and links for every item in the
box. Of course, you can also just give
us a call or send us an email if you come across a culinary question that you
can’t find an answer for! Have fun and
enjoy the season!


